(And yes, I literally crawled into a dumpster at the
local vending/arcade distributor several years ago to get
this control panel. Gotta put that college degree to good
use, you know. "Dumpster Diving at Dunis" was
my "Wednesday after work" routine until I got a
girlfriend. ;-)
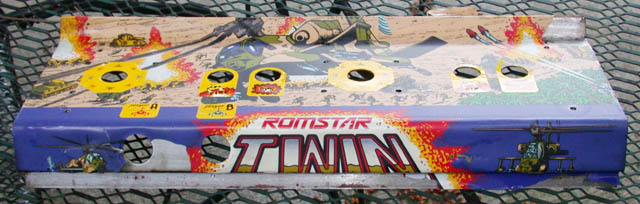 |
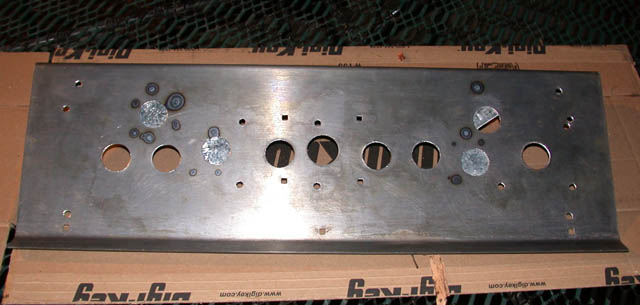
Step one. Joysticks and buttons removed from
control panel |
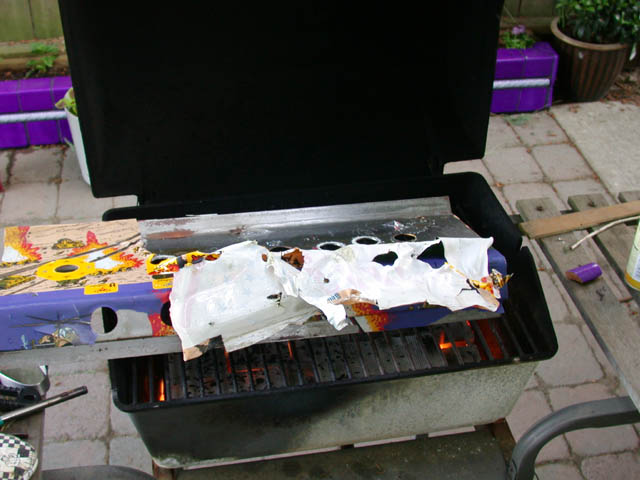 |
Mmmmmm... BBQ! The overlay wanted nothing to
do with coming off, so a few minutes on the BBQ
got the metal nice and toasty which made peeling
the overlay off remarkably simple. Smelled really
bad though. Not recommended for your home oven. |
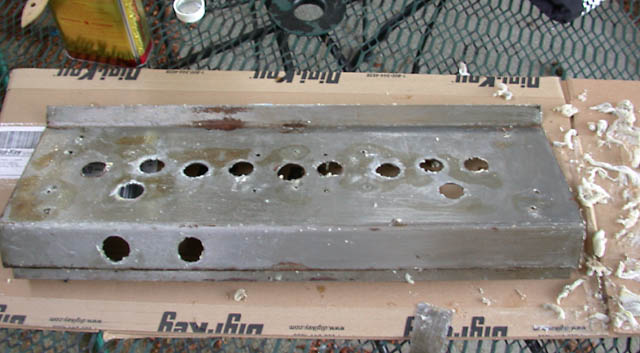 |
The overlay left plenty of adhesive and
'gunk' on the metal. (A spilled coke had got
under there too and caused some significant rust
as well.) Multiple applications of Jasco
paint/epoxy remover makes short work of
adhesives. Don't worry-- according to the can it
only causes cancer in Californa. |
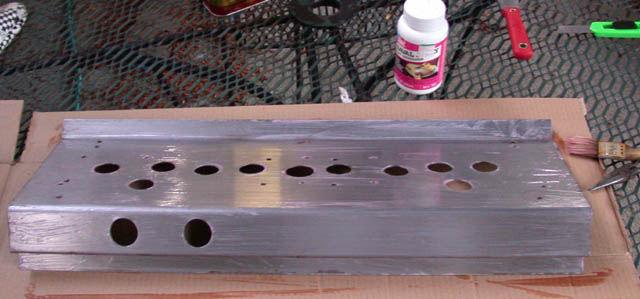 |
With the adhesive stripped off and the remain
Jasco washed away to contaminate the ground
water, time for a bath in Naval Jelly. The Naval
Jelly will neutralize and dissolve any rust. Just
brush on, let sit for 5-10 minutes, and wash
away... |
 |
All nice and shiny! I put the panel in the
(indoor) oven at ~170F for 30 minutes or so to
make sure all the water was well dried away after
washing it. The Naval Jelly will protect the
metal from flash-rust for at least a day. |
 |
Time for some welding. I tacked some metal
plates (found in the electrical aisle of the
local hardware store) on the back of the panel
with a wire-feed welder. The plates covered holes
from other conversions that I didn't want. (Yeah,
I had a little feed problem with the wire on that
one on the left and got a bit hot...) |
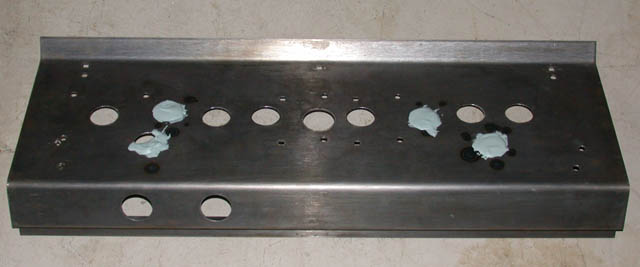 |
With the welds done, I mixed up some
"Evercoat RAGE" (about the same as
"Bondo") and filled the holes after
cleaning everything well with MEK. I left the
original Frogger control holes alone in case one
day this gets converted back... |
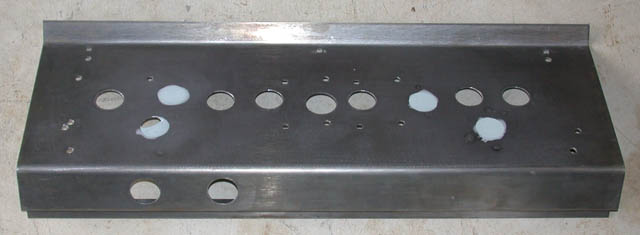 |
With the RAGE hardened (about 20 minutes) I
hit the excess with a Dewalt hand
sander. I went ahead and smoothed out any other
rough spots on the metal at the same time. (About
200 grit paper and another cleaning with MEK.) |
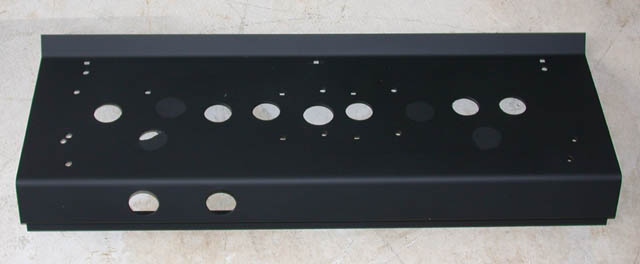 |
Rustoleum
Flat Black in a spray can. My favorite
arcade-game parts color. I put the paint on just
to prevent any needless rusting under the control
panel overlay. Baked on at ~170F in the oven for
a couple hours to speed up curing. |
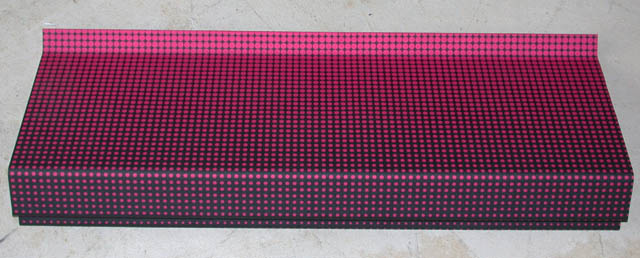 |
One generic control panel overlay later... (I
*hate* putting on CPO's. I'm not very good at it.
I heated up both the CPO and panel with a
hairdryer to make the CPO more flexible. Then it
was just trying to get it on straight and
*slowly* wrapping everything around...) |
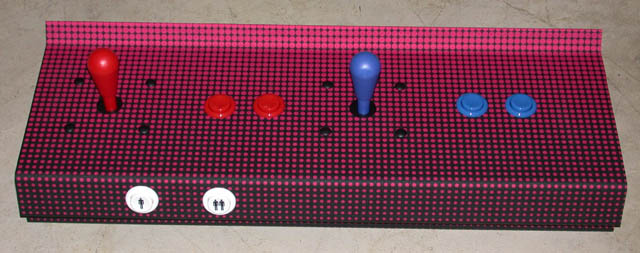 |
Done! Some joysticks and buttons from Happ Controls
and it's finished! Turned out looking pretty good
for generic JAMMA stuff... |